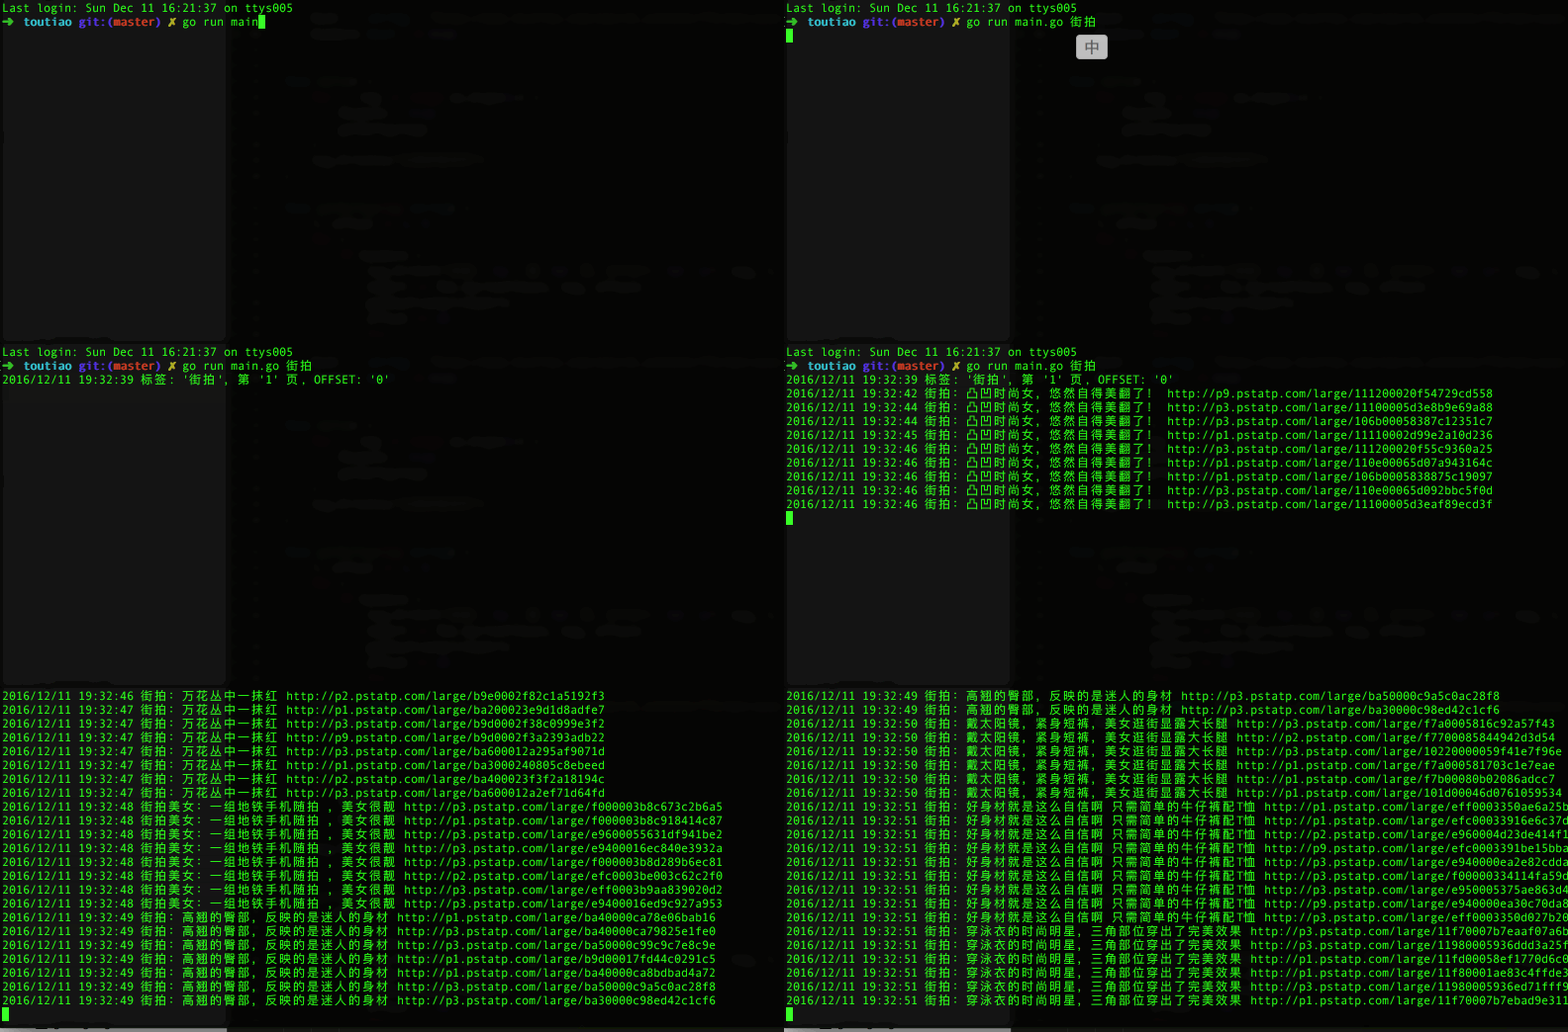
写完爬取糗百热门后没几天,又开始写了爬取今日头条图片的工具。
灵感来源于Python 福利小爬虫,爬取今日头条街拍美女图,作者很详细的分析了今日头条一个搜索接口,并列出了步骤。
而我用Go写的,稍稍做了改动,加入了可以自定义爬取标签的功能,并在写本文前完成了以 “标签/文章名/图片名” 结构存储图片的功能。
分析网页依然使用goquery。
分析接口返回结构
{
	"count": 30,
	"action_label": "click_search",
	"return_count": 0,
	"has_more": 0,
	"page_id": "/search/",
	"cur_tab": 1,
	"offset": 150,
	"action_label_web": "click_search",
	"show_tabs": 1,
	"data": [
		{
			"play_effective_count": "6412",
			"media_name": "开物志",
			"repin_count": 49,
			"ban_comment": 0,
			"show_play_effective_count": 1,
			"abstract": "",
			"display_title": "",
			"datetime": "2016-12-13 21:35",
			"article_type": 0,
			"more_mode": false,
			"create_time": 1481636117,
			"has_m3u8_video": 0,
			"keywords": "",
			"video_duration": 161,
			"has_mp4_video": 0,
			"favorite_count": 49,
			"aggr_type": 0,
			"article_sub_type": 0,
			"bury_count": 2,
			"title": "沃尔沃Tier 4 Final大型引擎的工作原理揭秘",
			"has_video": true,
			"share_url": "http://toutiao.com/group/6363577276176531969/?iid=0&app=news_article",
			"id": 6363577276176532000,
			"source": "开物志",
			"comment_count": 4,
			"article_url": "http://toutiao.com/group/6363577276176531969/",
			"image_url": "http://p3.pstatp.com/list/12f0000909de79ceeabc",
			"middle_mode": true,
			"large_mode": false,
			"item_source_url": "/group/6363577276176531969/",
			"media_url": "http://toutiao.com/m6643043415/",
			"display_time": 1481635793,
			"publish_time": 1481635793,
			"go_detail_count": 2290,
			"image_list": [],
			"item_seo_url": "/group/6363577276176531969/",
			"video_duration_str": "02:41",
			"source_url": "/group/6363577276176531969/",
			"tag_id": 6363577276176532000,
			"natant_level": 0,
			"seo_url": "/group/6363577276176531969/",
			"display_url": "http://toutiao.com/group/6363577276176531969/",
			"url": "http://toutiao.com/group/6363577276176531969/",
			"level": 0,
			"digg_count": 4,
			"behot_time": 1481635793,
			"tag": "news_car",
			"has_gallery": false,
			"has_image": false,
			"highlight": {
			"source": [],
			"abstract": [],
			"title": []
			},
			"group_id": 6363577276176532000,
			"middle_image": "http://p3.pstatp.com/list/12f0000909de79ceeabc"
		},
	],
	"message": "success",
	"action_label_pgc": "click_search"
}
嗯,特别多,其实只需要 data 里的内容就可以了。
所以
构造一个请求结果的struct。
type ApiData struct {
	Has_more int    `json:"has_more"`
	Data     []Data `json:"data"`
}
再看下data里,嗯,没用的又一大堆。
只需要文章链接就够了。
type Data struct {
	Article_url string `json:"article_url"`
}
有了文章链接,那就好说了,啥都好商量。
分析文章结构
id=“J_content” 下是文章的主要内容,class=“article-title”是文章标题,class=“article-content”里是文章内容,只需要article-content里所有img元素就可以了。
type Img struct {
	Src string `json:"src"`
}
由于需要一直更改查询接口的offset参数,所以直接把接口地址拿到外边做了全局变量。并且默认存在下一页。tag用来表示当前爬取的标签的名称。
var (
	host    string = "http://www.toutiao.com/search_content/?format=json&keyword=%s&count=30&offset=%d"
	hasmore bool   = true
	tag     string
)
正菜
0. 接收参数
首先,接收并遍历命令行中传入的标签。
func main() {
	for _, tag = range os.Args[1:] {
		hasmore = true
		getByTag()
	}
	log.Println("全部抓取完毕")
}
每个循环开始时重置 hasmore 。
1. 循环请求接口
func getByTag() {
	i, offset := 1, 0
	for {
		if hasmore {
			log.Printf("标签: '%s',第 '%d' 页, OFFSET: '%d' \n", tag, i, offset)
			tmpUrl := fmt.Sprintf(host, tag, offset)
			getResFromApi(tmpUrl)
			offset += 30
			i++

			time.Sleep(500 * time.Millisecond)
		} else {
			break
		}
	}
	log.Printf("标签: '%s', 共 %v 页,爬取完毕\n", tag, i-1)
}
重置当前页,和当前offset。页数从第一页开始,主要是显示进度看起来更人性化一些。但是程序员的世界是从0开始。。。想改成0就改成0吧。
hasmore = true 表示存在下一页,使用fmt包的Sprintf方法格式化请求链接。然后对offset+30,对当前页i+1。再之后停顿了500毫秒。
这里其实有个问题,如果实际内容以每页30请求,可能恰好有150条,即每页数量的整数倍,但是这个时候接口返回的has_more依然等于1,即服务端认为还有下一页。。。但是其实没有了,所以会有一次空循环。
2. 处理请求结果
func getResFromApi(url string) {
	resp, err := http.Get(url)
	if err != nil {
		log.Fatal(err)
	}

	defer resp.Body.Close()
	body, err := ioutil.ReadAll(resp.Body)

	if err != nil {
		log.Fatal(err)
	}

	var res ApiData
	json.Unmarshal([]byte(string(body)), &res)

	for _, item := range res.Data {
		getImgByPage(item.Article_url)
	}

	if res.Has_more == 0 {
		hasmore = false
	}
}
没啥说的,拿到每一个请求接口的链接后打开,把结果数组中的data解析到ApiData中,于是就拿到了文章链接,然后遍历处理。
遍历完后要看下has_more的值,如果为0表示没有下一页了,修改全局变量hasmore的值,结束最外层的循环。
3. 处理文章
func getImgByPage(url string) {
	//部分请求结果中包含其他网站的链接,会导致下面的query出现问题
	if strings.Contains(url, "toutiao.com") {
		doc, err := goquery.NewDocument(url)
		if err != nil {
			log.Fatal(err)
		}

		title := doc.Find("#article-main .article-title").Text()
		title = strings.Replace(title, "/", "", -1)
		os.MkdirAll(tag+"/"+title, 0777)

		doc.Find("#J_content .article-content img").Each(func(i int, s *goquery.Selection) {
			src, _ := s.Attr("src")
			log.Println(title, src)
			getImgAndSave(src, title)
		})
	}
}
最外层加了判断,是因为有一部分结果的链接是其他网站的。。。。
虽然这个判断很low,但是也够用了。
然后终于该用上goquery了,拿到标题,然后遍历文章内容中的img标签,就拿到了每一篇文章的每一张图片。
4. 保存图片
在上一步把图片地址和文章名称传递给了getImgAndSave。
func getImgAndSave(url string, dirname string) {
	path := strings.Split(url, "/")
	var name string
	if len(path) > 1 {
		name = path[len(path)-1]
	}

	resp, err := http.Get(url)
	defer resp.Body.Close()

	if resp.StatusCode != http.StatusOK {
		log.Fatal("请求失败", err)
		return
	}

	contents, err := ioutil.ReadAll(resp.Body)
	defer func() {
		if x := recover(); x != nil {
			return
		}
	}()
	err = ioutil.WriteFile("./"+tag+"/"+dirname+"/"+name+".jpg", contents, 0644)
	if err != nil {
		log.Fatal("写入文件失败", err)
	}
}
先分割图片链接,把最后一个”/“后的内容当成文件名。
后边get图片内容,但是有时候会出现对方服务器出错的情况,http状态码为500,所以加了判断请求是否成功的判断。
然后就是读取内容,保存到文件中了。
这里使用了WriteFile方式,查资料的时候还看到有闲Create文件,然后io.Copy写入的。
到这里就结束了。
RUN
go run main.go 美女 模特
等着看图吧。
github地址:toutiaoSpider,欢迎star。